
In this series of articles I will take you through the ups and downs of setting up quantum computing on your PC. Quantum computing on your PC is all about getting a connection to either D-Wave’s Annealer (D-Wave Leap) or IBM’s Q Experience Logic Gate machine. The connection is through an API that unlocks when you register an account with either. The API is triggered through their own custom Python-libraries, thus you will need to have Python installed – and the best way to do that is on a Linux machine.
Therefore, this series of articles will be working in a Linux virtual machine (VM), and I will guide you through this. We will install 64-bit Ubuntu, configure it, and then install Python on it. Not only that, we will do it properly through the use of Python Environments. Then we will install the custom Quantum Computing Python libraries and test it out.
Since this technology is very new there aren’t that many resources on how to do this, so it was rather difficult for me to figure it out for the first time back in 2018, and I wish that I had a step-by-step guide on how to do it. I’ve now had to do this about 5 or 6 times so I thought I’d write this series of articles up.
In this first article we will cover the basics:
- Creating a Linux-Ubuntu Virtual Machine on Windows 10
- Configuring Ubuntu to Run Fast
Subsequent articles will cover
- Installation of Python
- Creating Virtual Python Environments
- Installation of Python Libraries (numpy, scipy, and quantum computing libraries)
- Installation and Configuration of PyCharm
- And more!…
I will be running all of this on a 64-bit Windows 10 operating system.
Creating a Linux-Ubuntu Virtual Machine
Download
For this article you will need to download two files:
- Oracle VM VirtualBox for Windows 10, and
- Ubuntu iso image.
To get VirtualBox, go to https://www.virtualbox.org/wiki/Downloads and download the version for Windows Hosts. At the time of writing the latest version is 6.0.10 and is 166Mb.
Now go to https://ubuntu.com/download/desktop and download the Ubuntu version for 64bit. The filename should be something like ubuntu-18.04-desktop-amd64.img, current version is 18.04 and is about 1.9Gb.
You can also try other distributions like Mint (Cinnamon) 64-bit version 19.2 “Tina” from here: Linux-Mint, or Debian 64-bit version 10.0 from here: Debian. Ubuntu and Mint are each about 1.9Gb at the time of writing, while Debian is only 334Mb but requires an internet connection while installing.
Install
Double-click the VirtualBox (VB) application and follow the prompts to install.
When it is finished, open VB and click New.
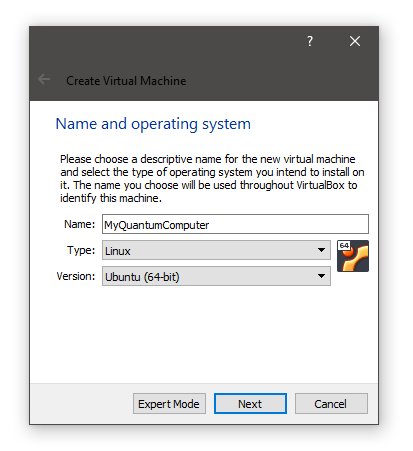
Think of a name for your virtual machine (VM), I chose “Quantum”. Then pick Linux as the Type. Finally, choose Ubuntu 64-bit for the version.
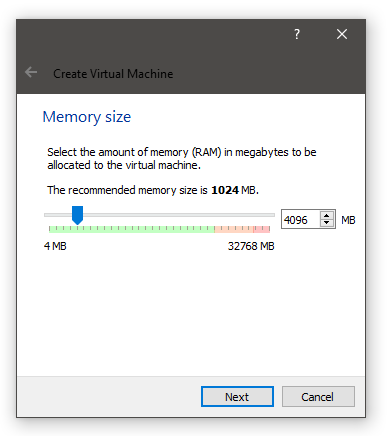
Next, set the Memory allocation. As a minimum I would choose 4,096Mb of RAM. Any less and it will just run too slow.
Configuring the Hard Drive you definitely want to pick the 2nd option: Create a virtual hard disk now. Click Create. Then pick the top option to create a VDI (Virtual Disk Image), like so:


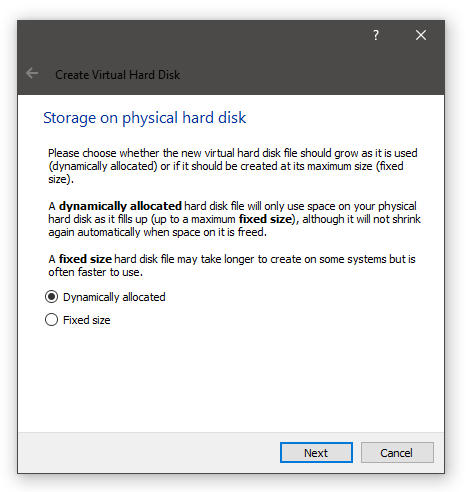
Then select to dynamically allocate the storage.
Click Next. Now you want to allocate at least 32.0Gb to your virtual storage.
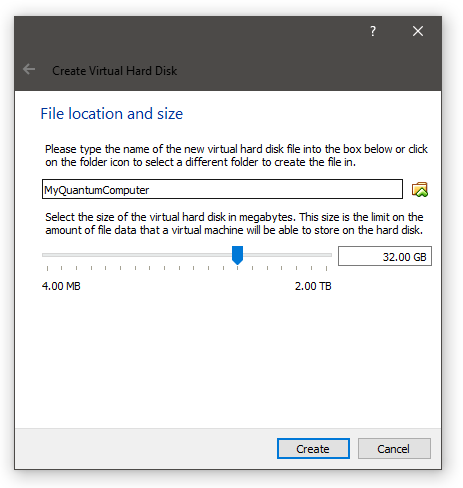
Click Create.
You should now have a powered-off virtual machine ready to use.

Installing Ubuntu
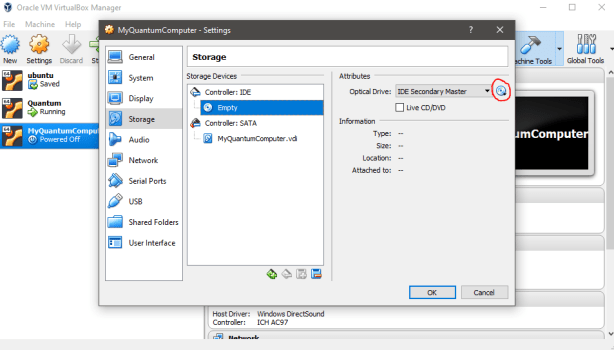
The VM needs to know the path to the Ubuntu image. Select the VM in the list and then click the Settings button. Navigate to the Storage category and click on the empty DVD drive in the SATA Storage Tree.
To the right, under Attributes, click the disc button next to Optical Drive and select to Choose Virtual Optical Disc File… Browse to your Ubuntu image that you downloaded, and click OK.
Go back to the main screen in VB, select your VM and click Start. You may need to wait a minute or two while it loads. Yes, there will be a black screen while you wait.
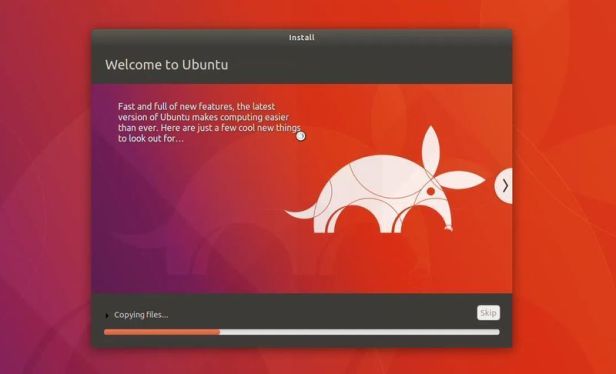
A new screen should pop up showing Ubuntu is loading. You will notice that GNOME has already loaded and it is asking if you would like to install Ubuntu off the image. Click Normal Installation of Ubuntu.
Tick download updates while installing Ubuntu, but do not click Install 3rd-party software. Click Continue.
For Installation Type, you want to Erase disk and install Ubuntu. Note: this only erases the virtual disk not your actual hard disk!
When it installs you will need to pick your Geographical Location, your Language and your Keyboard Language. Next, give your Ubuntu a name. Keep it short. This will form the name of the Root folder in your file structure. Finally, pick a username and a short password.
Wait several minutes while it installs. For me it took about 5 minutes.
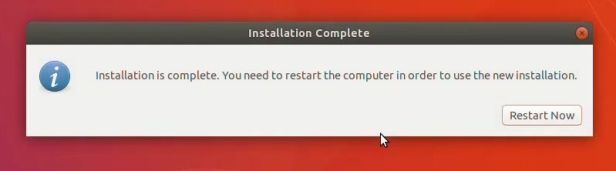
Sometimes the installation will hang or the screen should go black. If it does, just restart the virtual machine. However, when it finishes you will want to turn off the machine.
Configuring Ubuntu in VirtualBox
After turning off the VM after the Ubuntu installation is complete, there are a few things you need to do in VirtualBox before booting it up again.
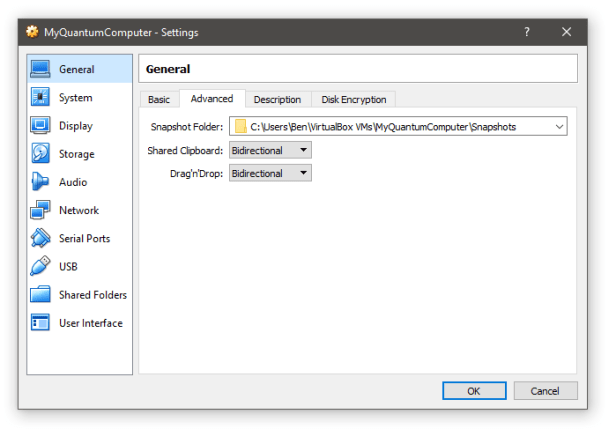
First, go to Settings > General > Advanced. Select Bidirectional clipboard and drag-‘n-Drop.
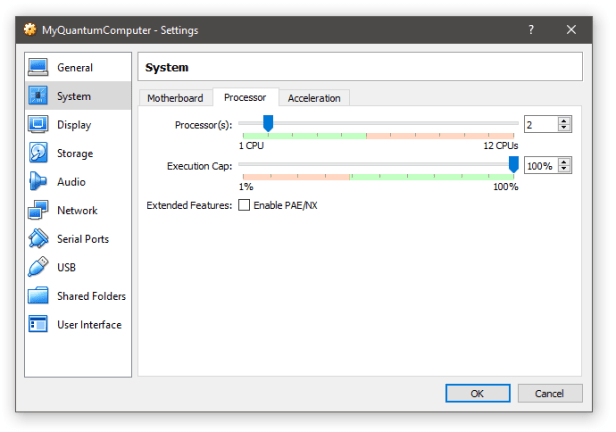
Then go to Settings > System > Processor and select at least 2 CPUs:
Then, under Settings > System > Acceleration you want to ensure both
- Enable VT-x/AMD-V, and
- Enable Nested Paging
are enabled:

Finally, give your Virtual Machine some more GPU memory and under Settings > Display > Screen set the Video Memory to at least 32Mb.
Go back and Click Start.
Configuring Ubuntu in the Virtual Machine
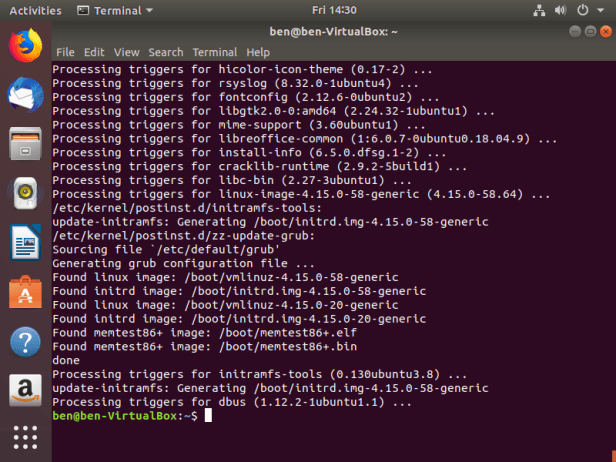
Once your VM is loaded, enter your password to log in to Ubuntu. The first thing you’ll want to do is update your system.
Press and hold CTRL-ALT-T to open Terminal. Type in
$ sudo apt update && sudo apt upgrade -y
This will download approximately 600Mb of data and update Ubuntu, and should take about 10 minutes.
Next let’s install the xz toolkit. Type in
$ sudo apt-get install xz-utils
Now let’s allow Kernel Building by typing in:
$ sudo apt install build-essential module-assistant dkms

Guest Additions & Unity
We will not be installing Guest Additions and Unity in to Ubunto here as in my experience Guest Additions slows down Ubuntu considerably! See here for the slow-down effect or here for a full Guest Additions guide on installation.
Cleaning Up
To remove the packages that failed to install completely:
$ sudo apt-get autoclean
Additionally, to remove the apt-cache:
$ sudo apt-get clean
Finally, to remove the unwanted software dependencies:
$ sudo apt-get autoremove
Summary
We will not be needing to user any of the GNOME interface stuff, all of our work will be through Terminal. However, if you want to further customise your Ubuntu installation feel free to Google search: “things to do after Ubuntu installation“, like here, for example.
This about does it for setting up your Virtual Machine.
In the next article we will
- Install Python
- Create a Virtual Environment for Python
- Install PyCharm
- Link PyCharm to your Virtual Environment
- Run a simple program in PyCharm
Useful Hints
To get to your media folder (where Guest Additions image would be loaded) type in
$ cd /media/{username}/
Then type $ sudo apt-get install xz-utils and it will show you the Guest Additions image. This took me a while to figure out because the media folder is not under the home root folder.
